

How To Repair Bmw Door Panel
Introduction
If the liner on the door panel of your 2005-2013 BMW 3 Series is drooping or is coming loose, follow these steps to remove your door panel and reattach the liner. Past removing the trim and a few screws, the door console will be free to pry loose. Once you know where the screws are, car door panels are easy enough to remove with no more than a screwdriver. BMWs require a Torx screwdriver. Aside from the location of the screws, just about whatever car door console is the aforementioned. In that location are internal plastic clips around the lesser edge and metal ones at the acme. All clips come loose by pulling/prying straight out. Any pry tool volition work; just try to avoid 1 that could harm the surfaces.
-
-
-
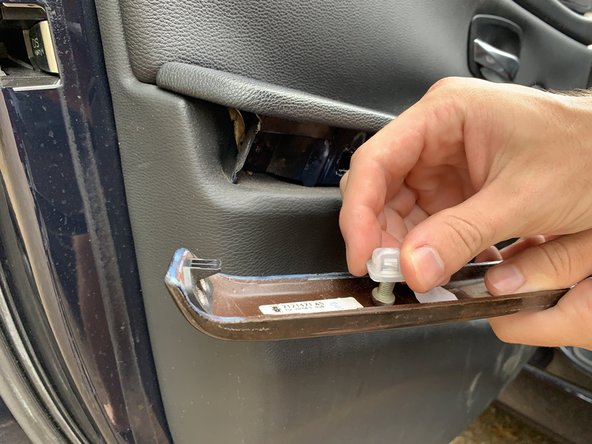
Using a plastic pry tool, advisedly pry off the mock wood trim.
-
-
-
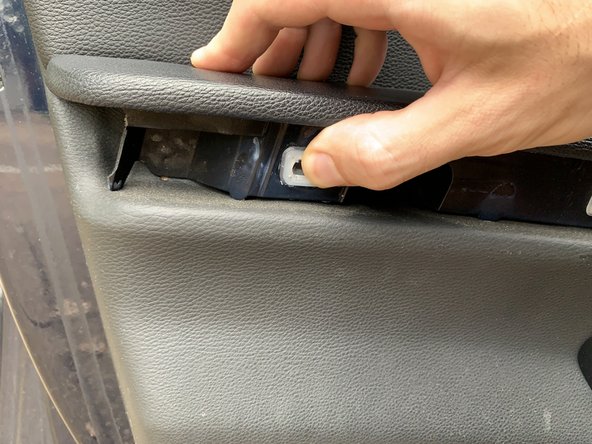
If any of the plastic clips come loose with the trim, remove them and press them back into the door console.
-
-
-
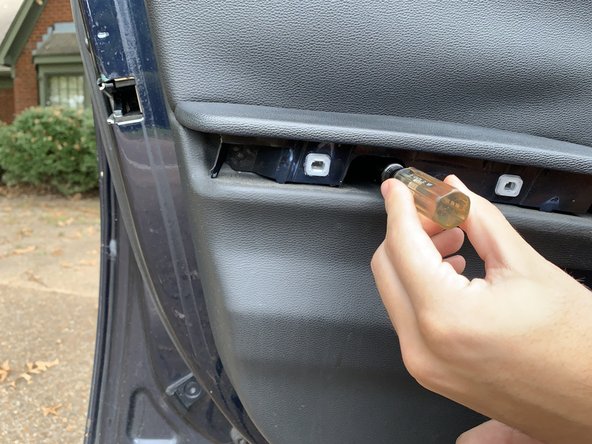
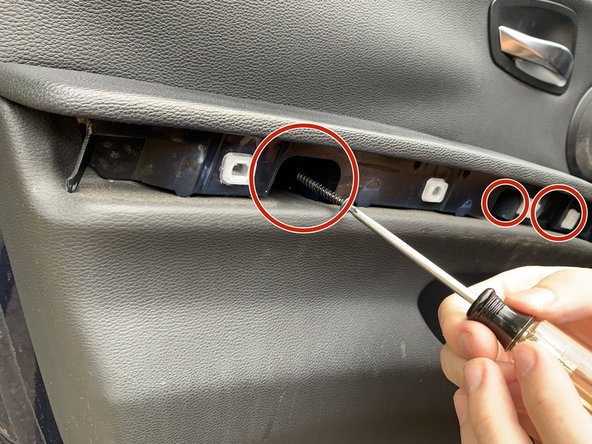
Using a T20 Torx, remove the three screws located behind the previously removed trim.
-
-
-
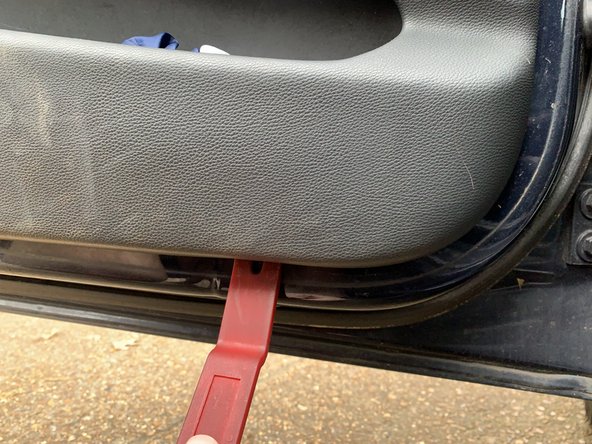
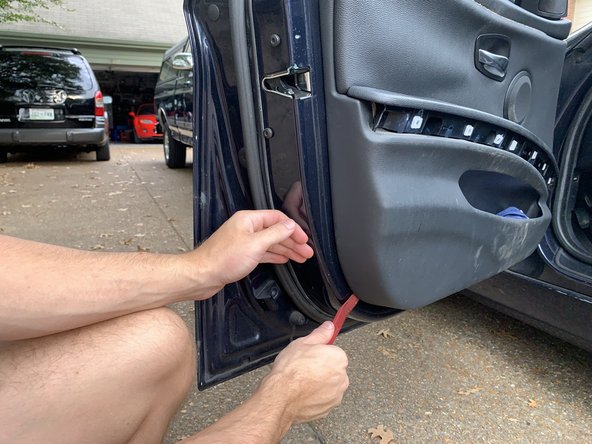
Using your plastic pry tool, pry the door console loose, starting time along the lesser edge and moving upwards each side.
-
-
-
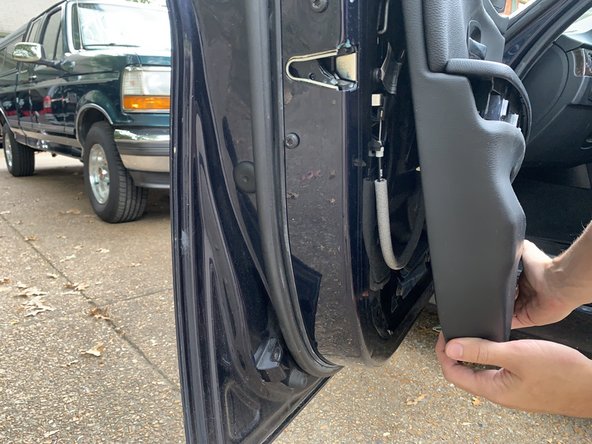
Pull the door panel straight out along the summit edge.
-
-
-
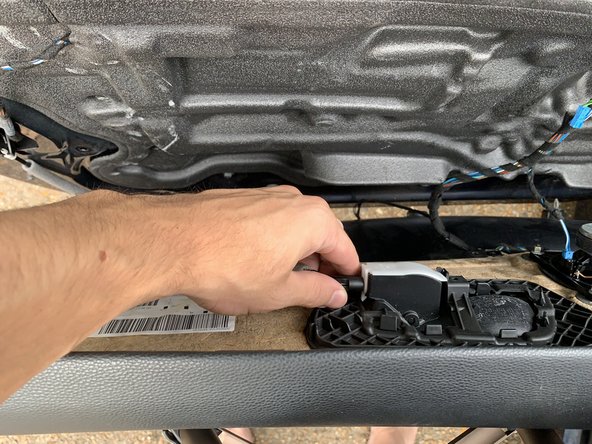
Unclip the internal door handle machinery inside the door handle by rotating clockwise.
-
-
-
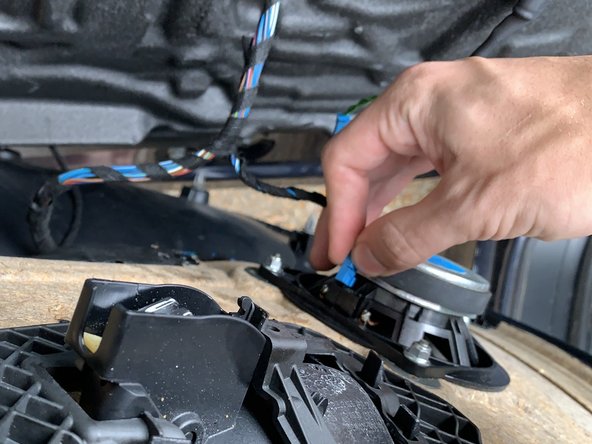
Unplug the speaker wire past pulling information technology straight out.
-
-
-
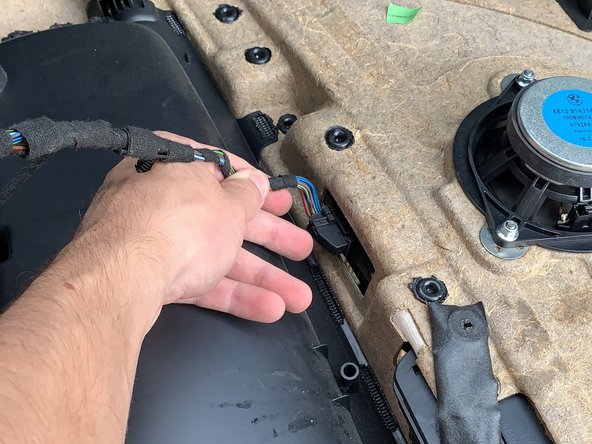
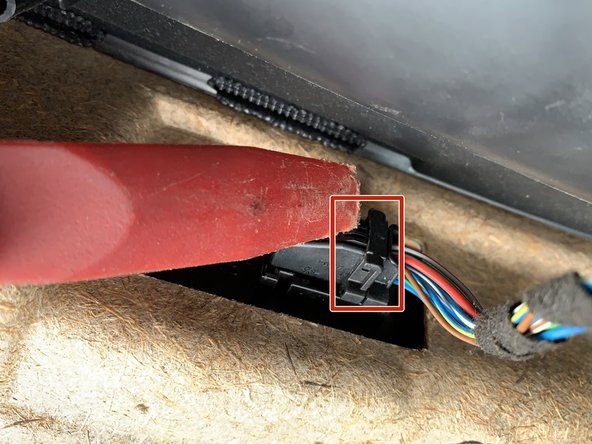
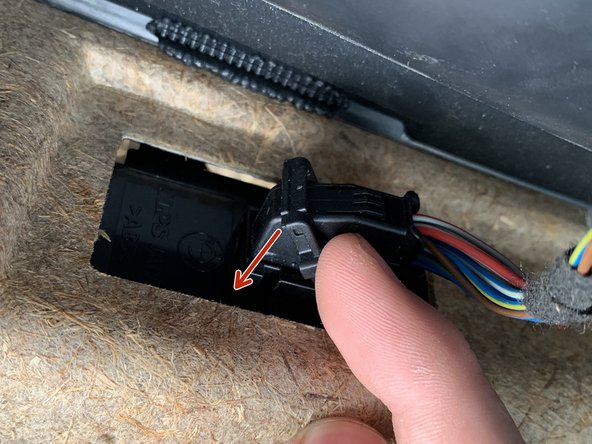
Unplug the control console wire by rotating the lever that is built into the plug.
-
Rotate the lever from the wire side down towards the door panel.
-
-
-
Pop the light out of the bottom of the door panel so unplug it.
-
-
-
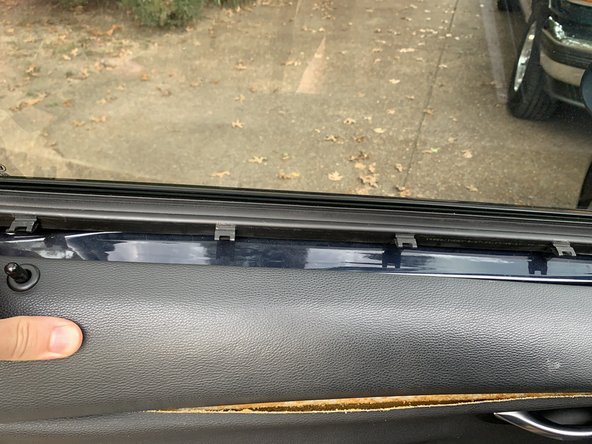
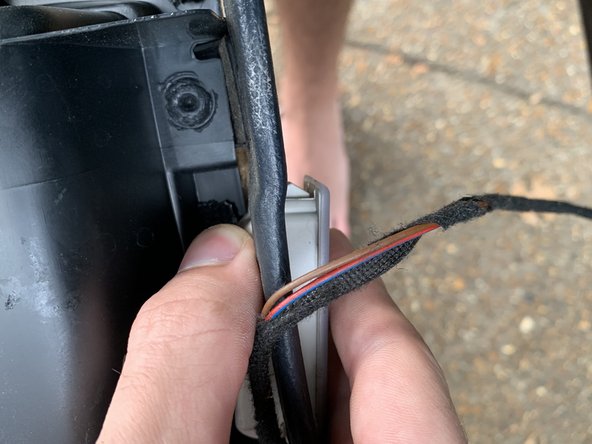
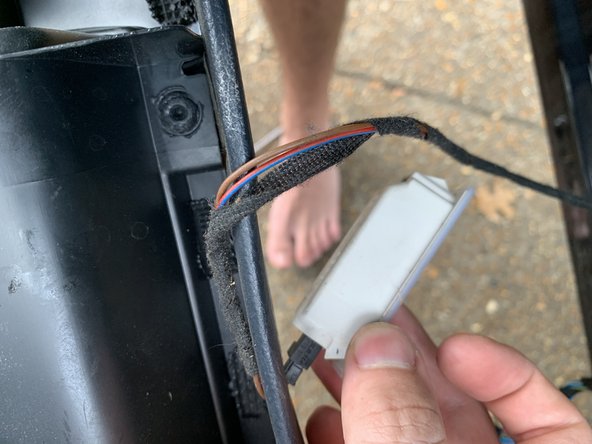
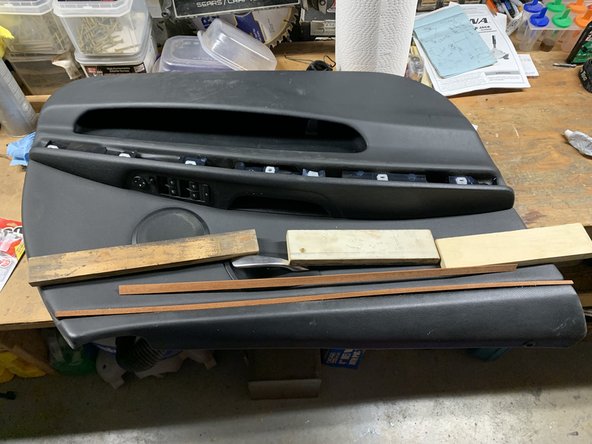
Now that the door panel is complimentary from the car, move it to a flat workspace.
-
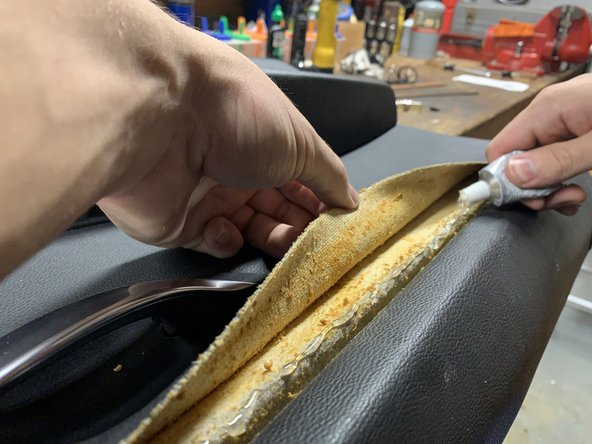
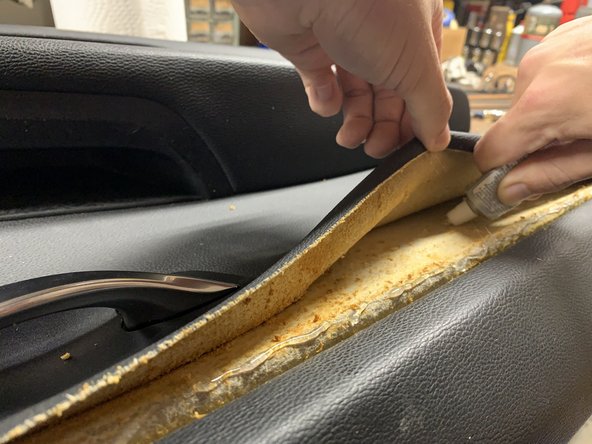
Apply a line of glue forth the acme edge and under the middle of the leather liner.
-
-
-
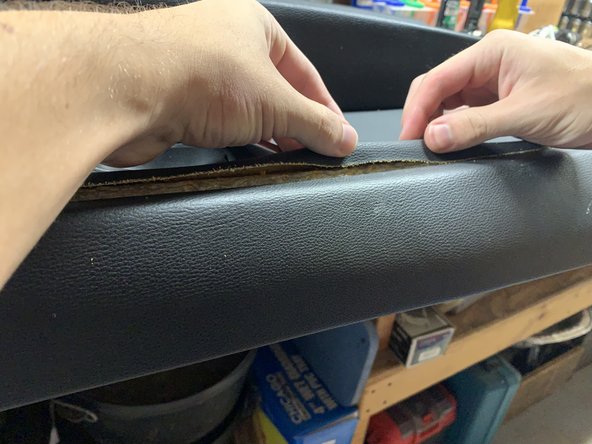
Push the liner into place in between the door panel sections.
-
-
-
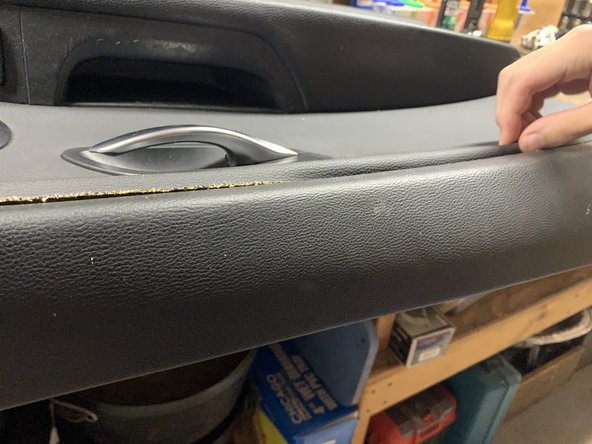
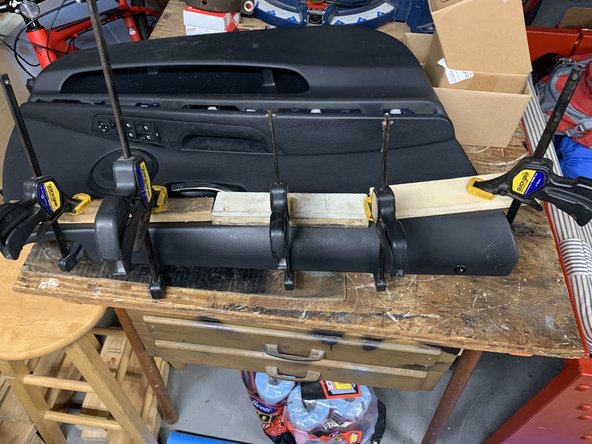
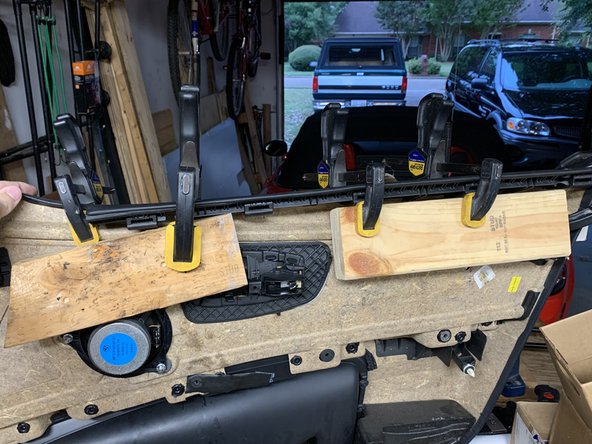
Using several clamps and pieces of woods (to distribute pressure level), clamp the liner down to the door panel.
-


Conclusion
Allow the glue to dry post-obit the instructions on the tube. Reassemble the door post-obit these instructions in reverse order.
Embed this guide
Choose a size and copy the code below to embed this guide equally a small widget on your site / forum.
Preview

Source: https://www.ifixit.com/Guide/How+to+Reattach+a+2005+2006+2007+2008+2009+2010+2011+2012+2013+BMW+3+Series+Door+Panel+Liner/137420
Posted by: valdezcaceneviver.blogspot.com
0 Response to "How To Repair Bmw Door Panel"
Post a Comment